What is Volume Photos Automation?
Volume Photos Automation is a game-changing feature in Crop.photo designed to streamline the post-production process for high-volume photography. Whether it's school photoshoots, minor sports leagues, weddings, or other large events, this tool can automatically process 4000+ images taken by one or multiple photographers. The focus is on delivering consistent, professional-looking photos that are ready to sell, all without the manual labor traditionally required in editing.
When to Use Volume Photos Automation?
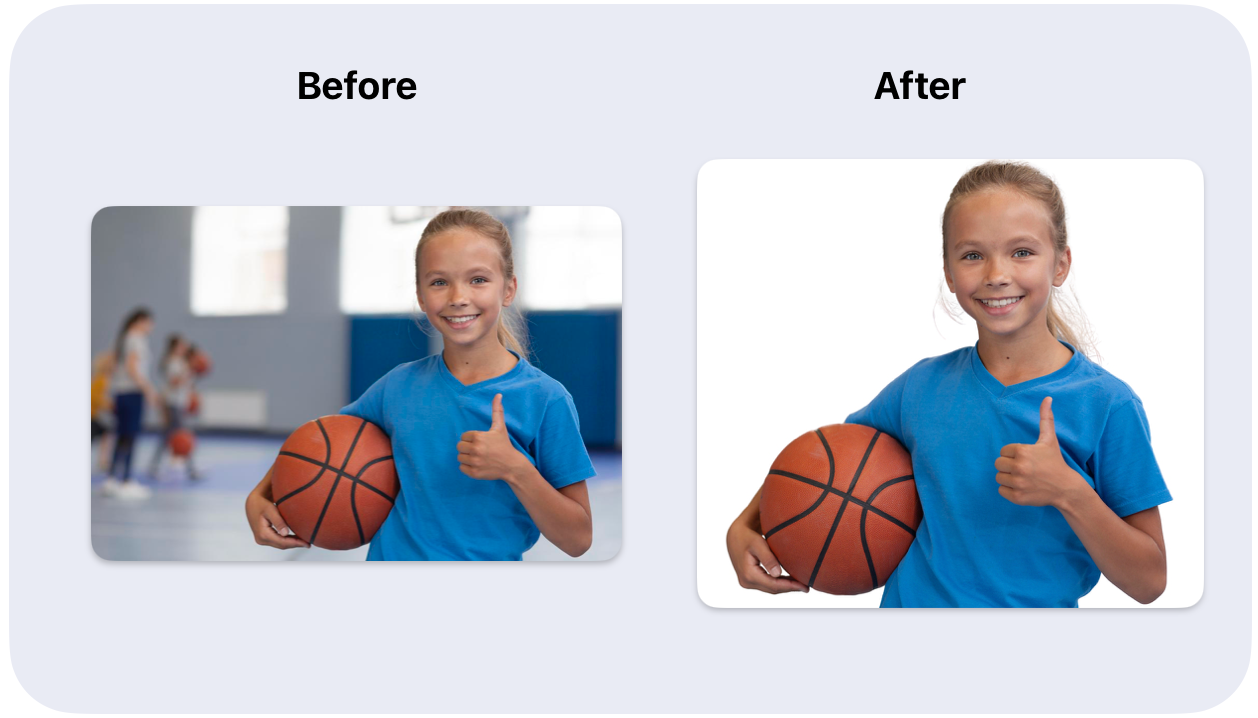
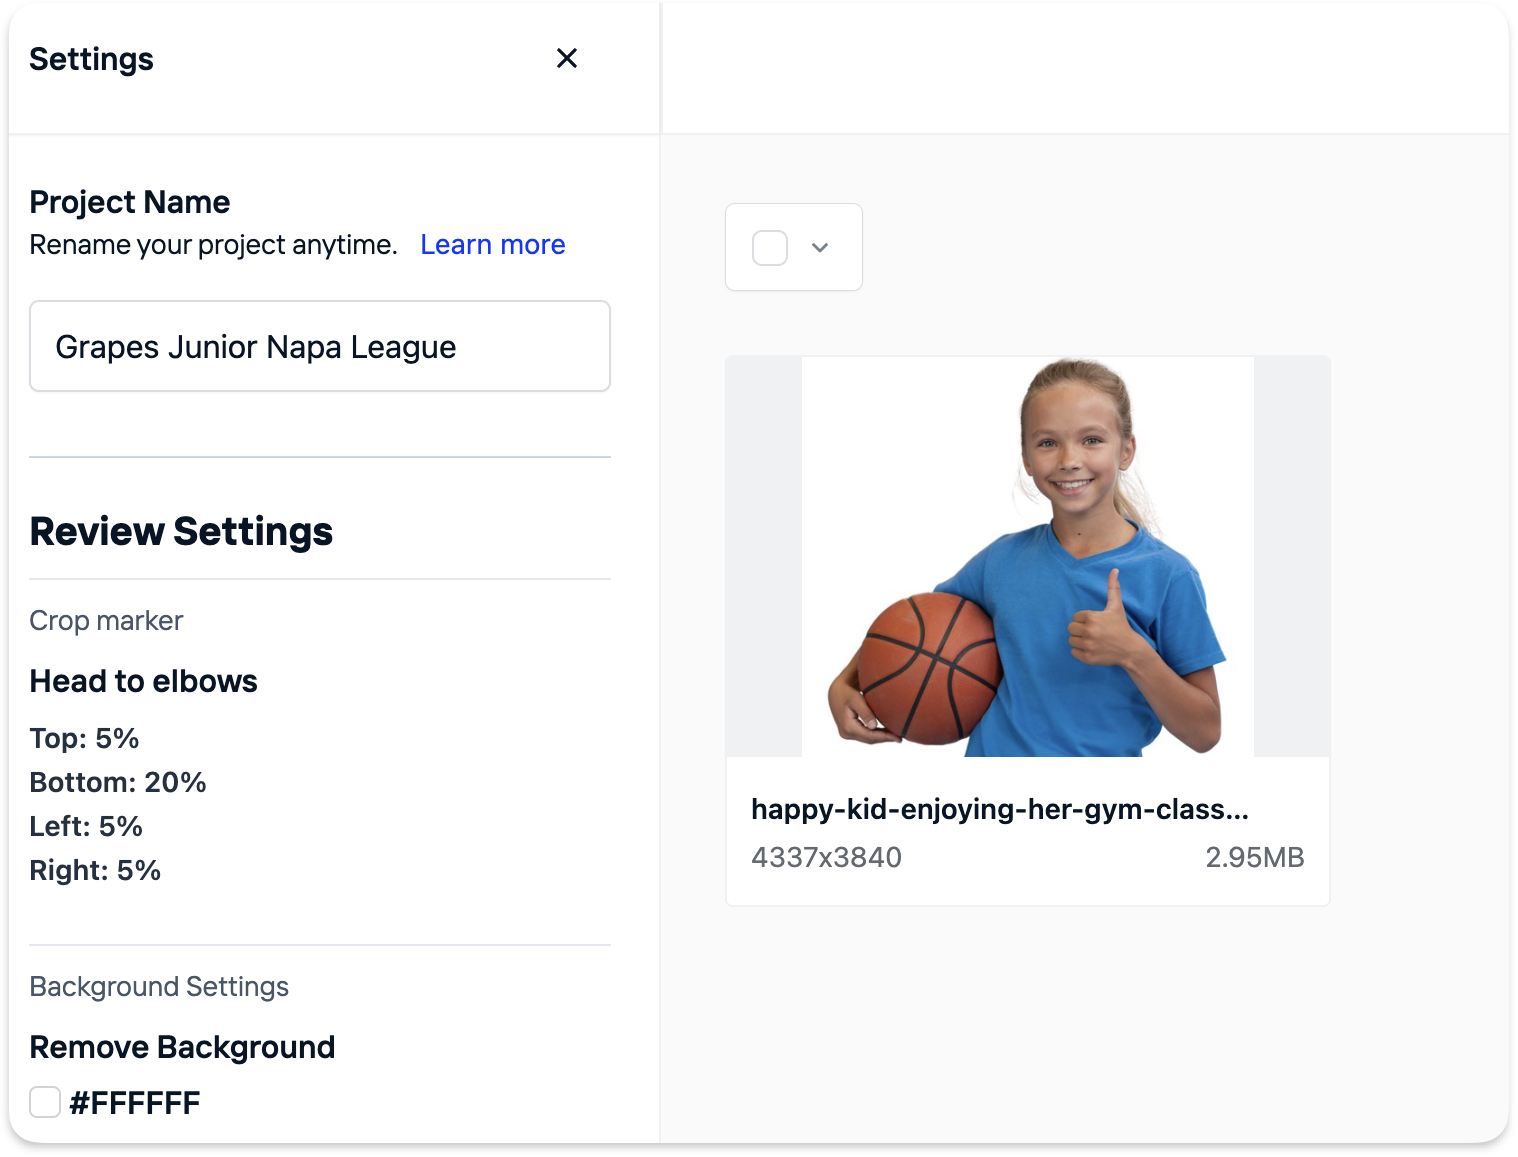
Example 1: Minor sport league team prints
Recommended Settings
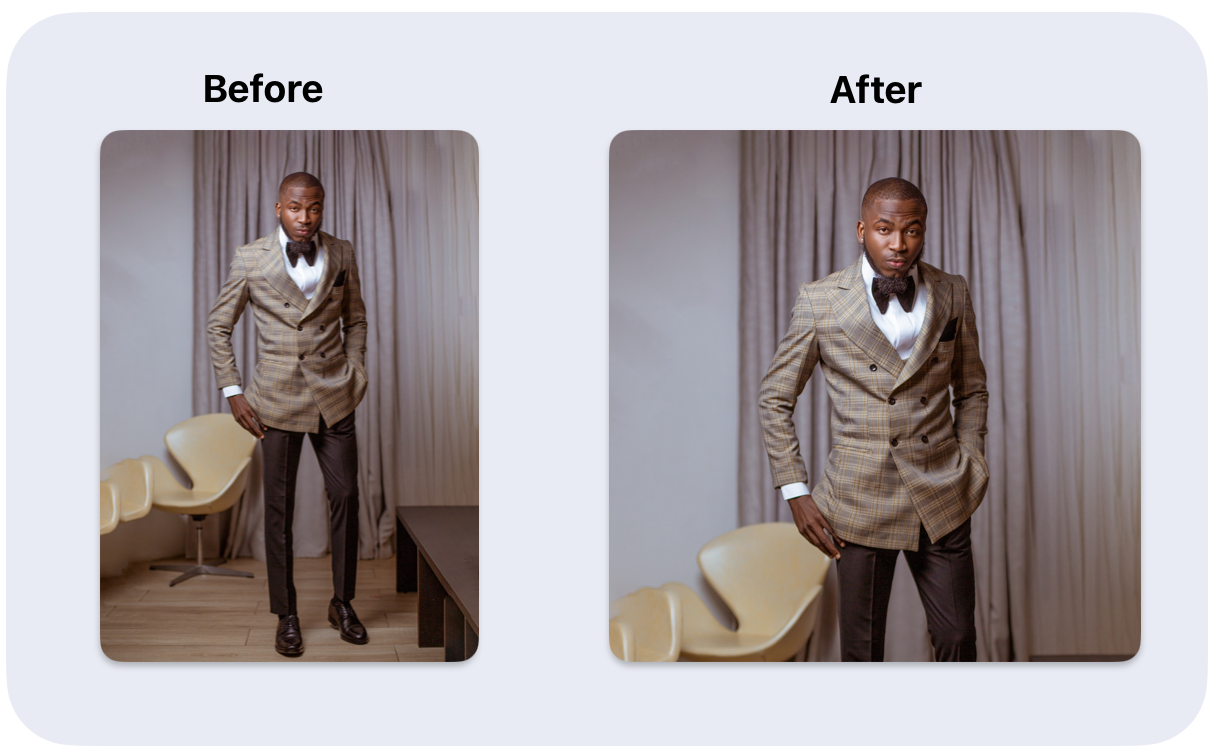
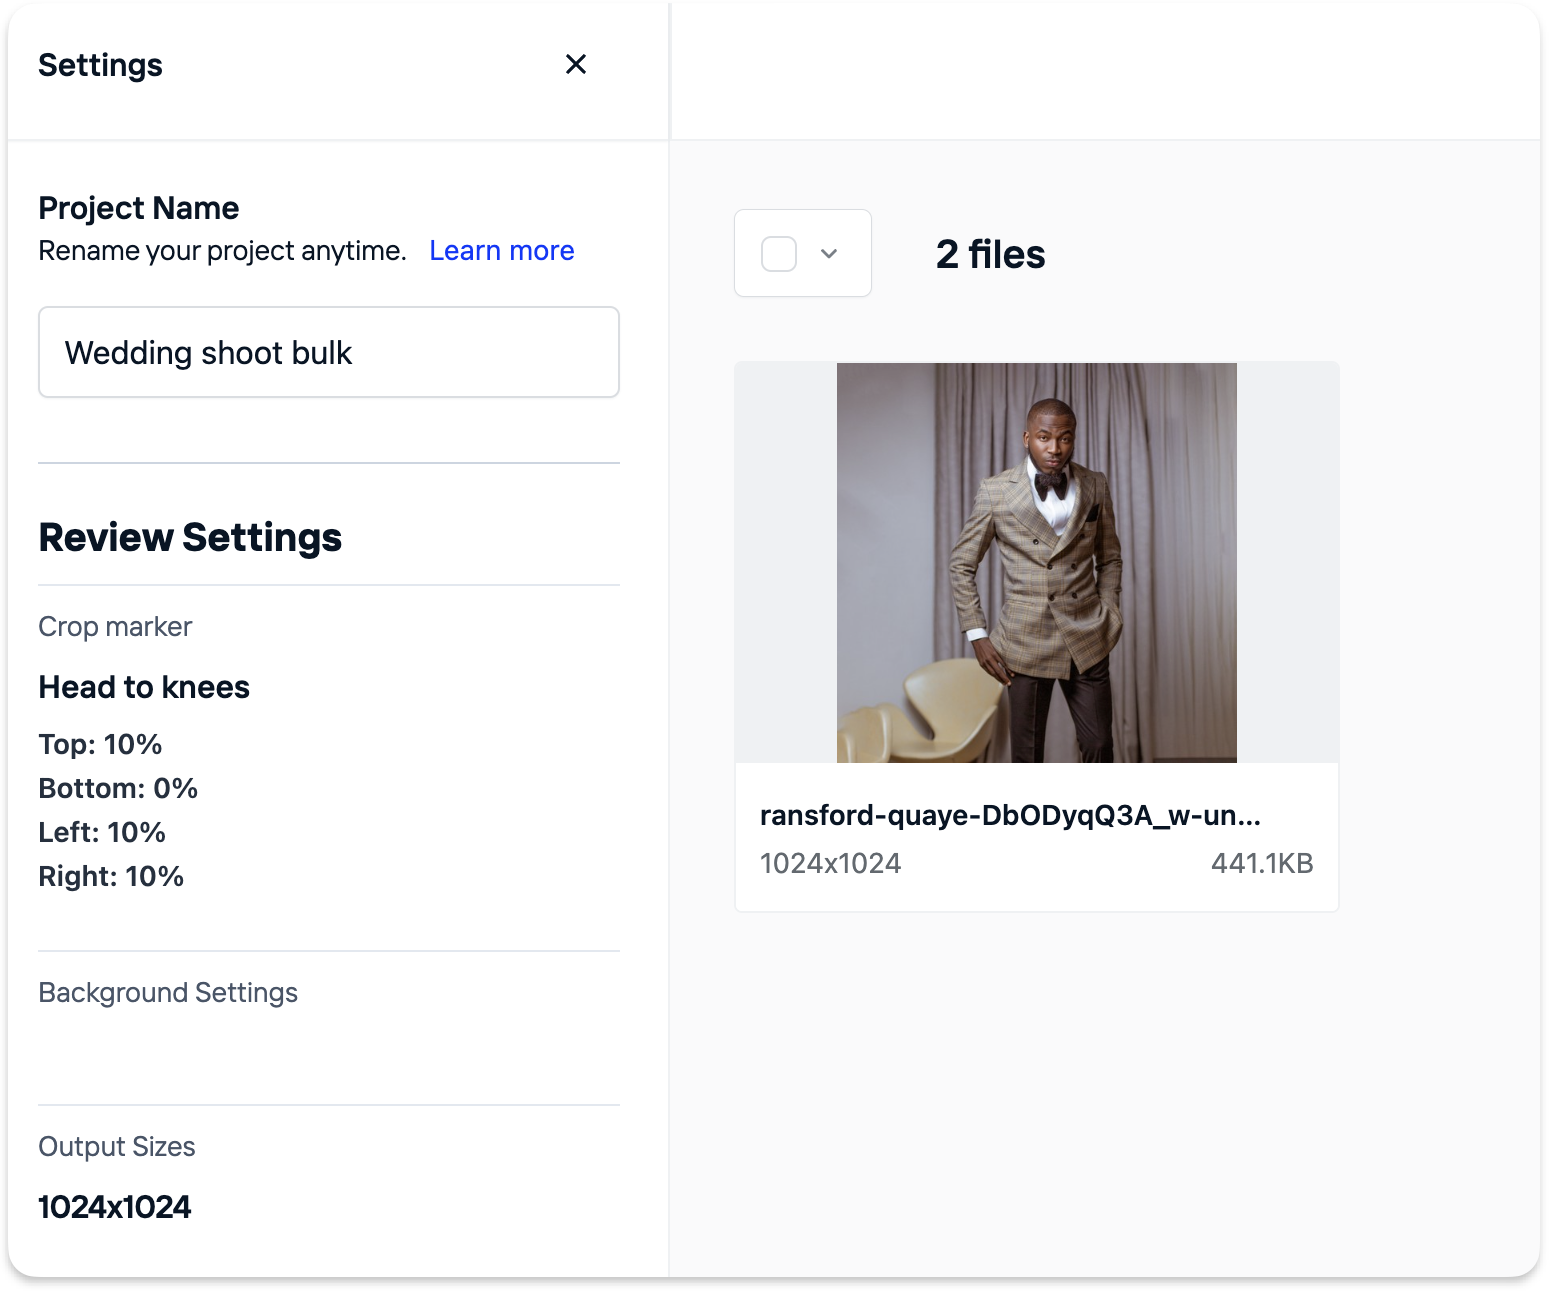
Example 2: Perfect squares from wedding images
Recommended Settings
Suitable for
- High School Graduation Shoots: For instance, if you're dealing with a graduating class of 600 students from each of the 5 high schools in a mid-sized town, that's a lot of photos to crop as a photographer!
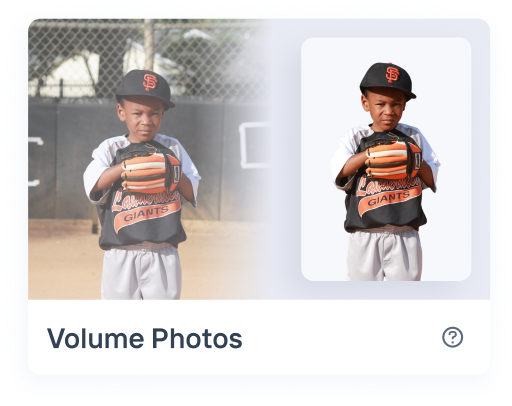
- Minor Sports Leagues: Imagine trying to sell individual photos to parents of children in a baseball league. Consistency in the backdrop and overall look is key to making those photos sellable.
- Weddings: With hundreds of guests and countless memorable moments, you'll need to process a large number of photos to capture the essence of the event.
- Corporate Events: From team-building retreats to annual general meetings, the corporate world offers its own set of high-volume photo opportunities.
- Concerts and Music Festivals: Capture the vibe of large scale musical events where hundreds of photos are taken.
Additional Use Cases
- Journalistic Coverage: For large-scale events covered by media.
- Community Gatherings: Photos from town halls, community picnics, or local festivals.
How to Configure Volume Photos Automation
Step-by-Step Guide for generating Headless Shots
Before diving into the nitty-gritty of Volume Photos, do yourself a favor and check out our Getting Started Guide. Trust us, it'll make the journey ahead a smooth ride!
Step 1: Create Volume Photos Automation
Click on the "Volume Photos" automation option, designed for photographers editing images with standard actions like person extraction, resizing, replacing backgrounds, cropping in bulk.
Step 2: Background Replace
Ensure the "Remove Background" checkbox is selected; this automation won't function without it.
Learn more about remove background settings. Select your event specific background.
Step 3: Output Size
Choose Output Size: Select your preferred custom output sizes. You can add multiple output sizes for convenience.
Learn more about outputs.
Step 4: Upload & Start Crop
Click "Next" to proceed and start uploading your images.
- Review and Start Cropping: Review the configuration on the left and once the files are uploaded, click "Start Crop" to kick off the automation
- Wait for Cropping to Complete: Allow the system to complete the crops. This may take a minute or two depending on the number of files.
Note: The initial startup time for our AI models is typically 30s-1min independent of number of images. So 1 or 10 images may take similar time.
Learn more about how to upload your images.
Step 5: Download Your Crops
Once cropping is done, click "Download all" to obtain all your headshot extracts.
Learn more about downloads.
Tips and Tricks 🌟
1. Reuse Configurations: You can easily duplicate the settings for a future project. This feature saves you time by avoiding the need to redo your configurations.
Often you want to uncheck duplicate media and just duplicate the configuration:
This allows you to add new files and do a quick batch crop with already tuned settings.
Still Facing Issues?
If you're not achieving the desired results, don't worry. Reach out to us through the in-app chat icon. Our AI experts are available to assist you in real-time and will guide you through the process. They will guide you through the process to ensure a successful outcome, helping you complete your tasks without any obstacles.
Not Your Crop of Tea? 🌱
Explore the other crop automations we offer to find your perfect match!


