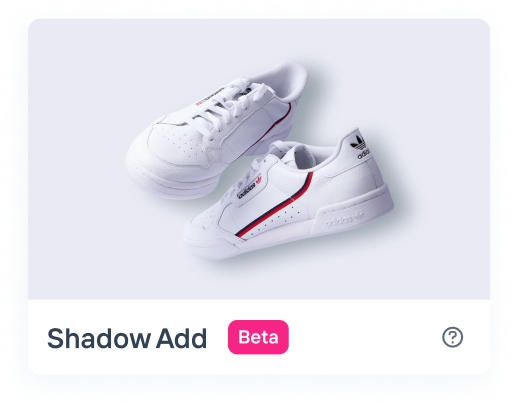
What is Shadow Add Automation?
Shadow Add Automation in Crop.photo is designed to bulk add drop shadows to a variety of images, particularly flat lays and 2D images. By utilizing AI algorithms, this feature dynamically sizes the shadow based on the size of the object within the image, adding depth and dimensionality.
When to Use Shadow Add Automation?
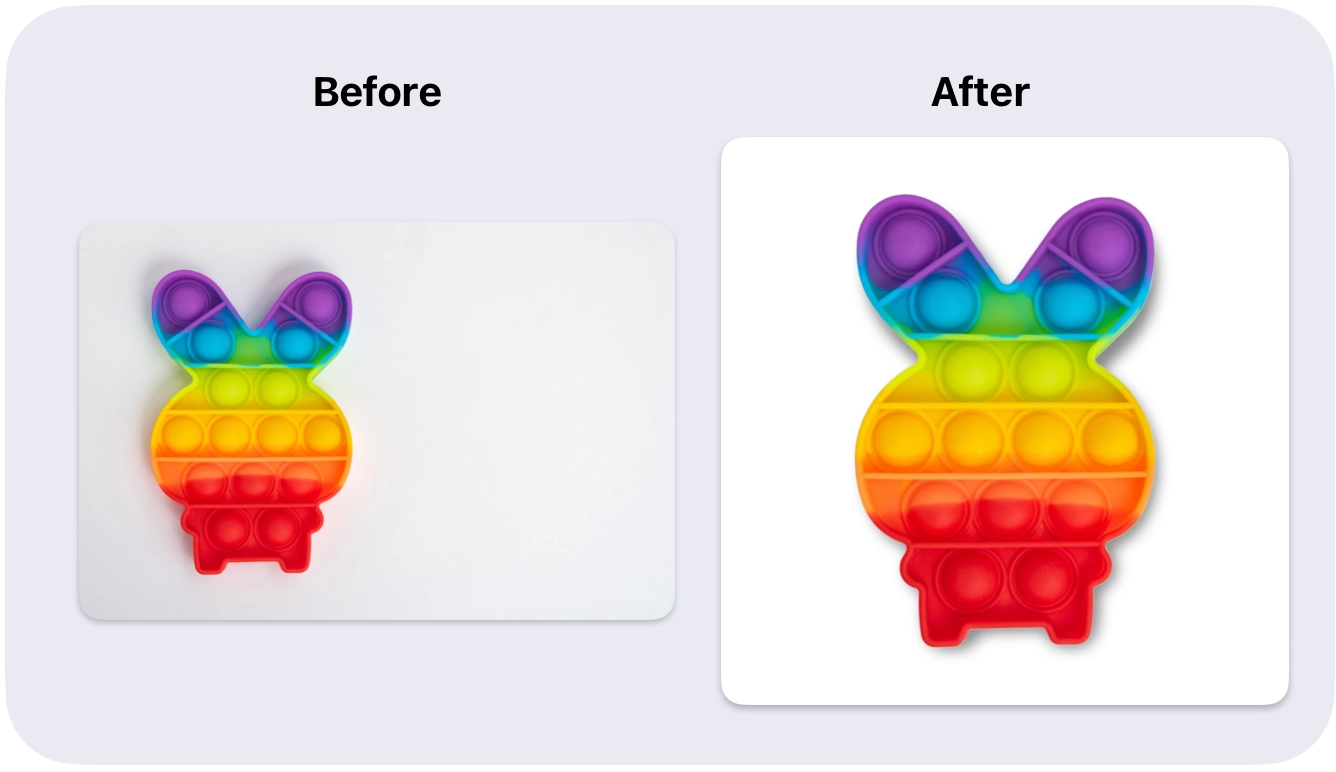
Example 1: Add shadows to toys before listing
Recommended Settings
Suitable For
- Enhancing product photos for e-commerce listings.
- Creating consistent shadow effects in bulk for a photo catalog.
- Adding depth to 2D artwork for digital galleries.
- Making promotional graphics more visually appealing.
How to Configure it?
Step-by-Step Guide for Adding Drop Shadows with AI
Before diving into the nitty-gritty of Headshot Fix, do yourself a favor and check out our Getting Started Guide. Trust us, it'll make the journey ahead a smooth ride!
Step 1: Select Shadow Add Automation
Choose the "Shadow Add Automation" option from the Home page:
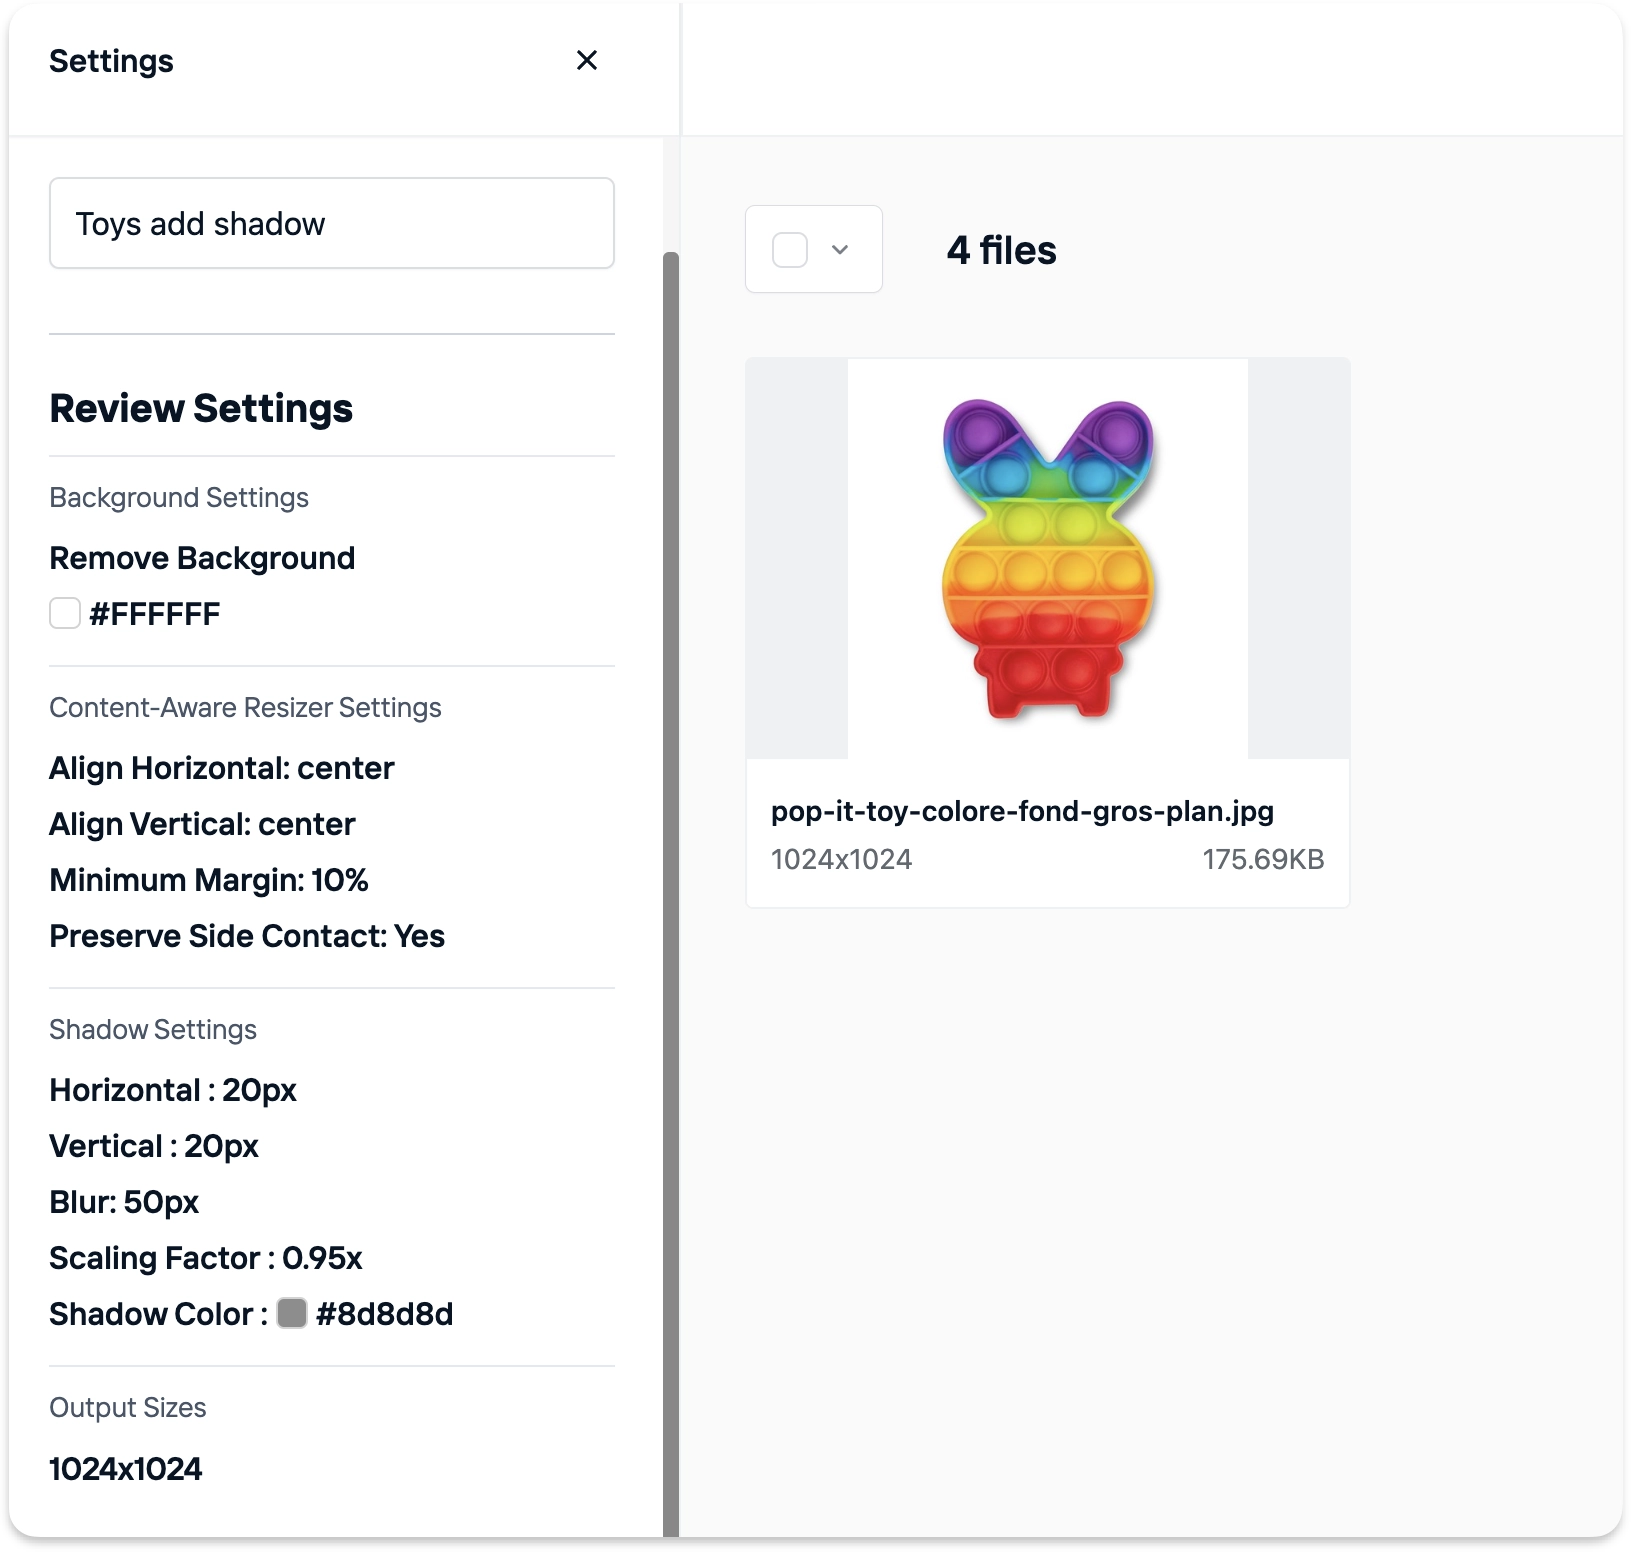
Step 2: Configure Shadow Settings
Note: To utilize this feature, you'll first need to remove the background from your images and also choose the Content-Aware Resize settings.
Adjust the shadow depth, opacity, and direction to suit your needs:

Don't forget to hit the 'Update Preview' button to see how the drop shadow settings affect your sample preview image. This gives you an idea of what the drop shadows will look like when you process your batch of images at the end of the setup.
Step 3: Output Size
Choose Output Size: Select your preferred custom output sizes. You can add multiple output sizes for convenience.
Learn more about outputs.
Step 4: Upload & Start Crop
Click "Next" to proceed and start uploading your images.
- Review and Start Cropping: Review the configuration on the left and once the files are uploaded, click "Start Crop" to kick off the automation
- Wait for Cropping to Complete: Allow the system to complete the crops. This may take a minute or two depending on the number of files.
Note: The initial startup time for our AI models is typically 30s-1min independent of number of images. So 1 or 10 images may take similar time.
Learn more about how to upload your images.
Step 5: Download Your Crops
Once cropping is done, click "Download all" to obtain all your headshot extracts.
Learn more about downloads.
Tips and Tricks 🌟
1. Reuse Configurations: You can easily duplicate the settings for a future project. This feature saves you time by avoiding the need to redo your configurations.
Often you want to uncheck duplicate media and just duplicate the configuration. This allows you to add new files and do a quick batch crop with already tuned settings.
2. If the shadow appears too heavy or too light, adjust the blur and re-run the automation on a sample image before applying it to the entire batch.
Still Facing Issues?
If you're not achieving the desired results, don't worry. Reach out to us through the in-app chat icon. Our AI experts are available to assist you in real-time and will guide you through the process. They will guide you through the process to ensure a successful outcome, helping you complete your tasks without any obstacles.


